CapCut vs Runway for Video Creation
Use CapCut for editing existing videos with free tools; choose Runway for generating scenes from scratch with paid credits.
- Category
- Photo, video & ads
- Official sources
- 2
- Read time
- 7 min
- Last checked
- 2026.09.24
The Tools Serve Different Workflow Stages
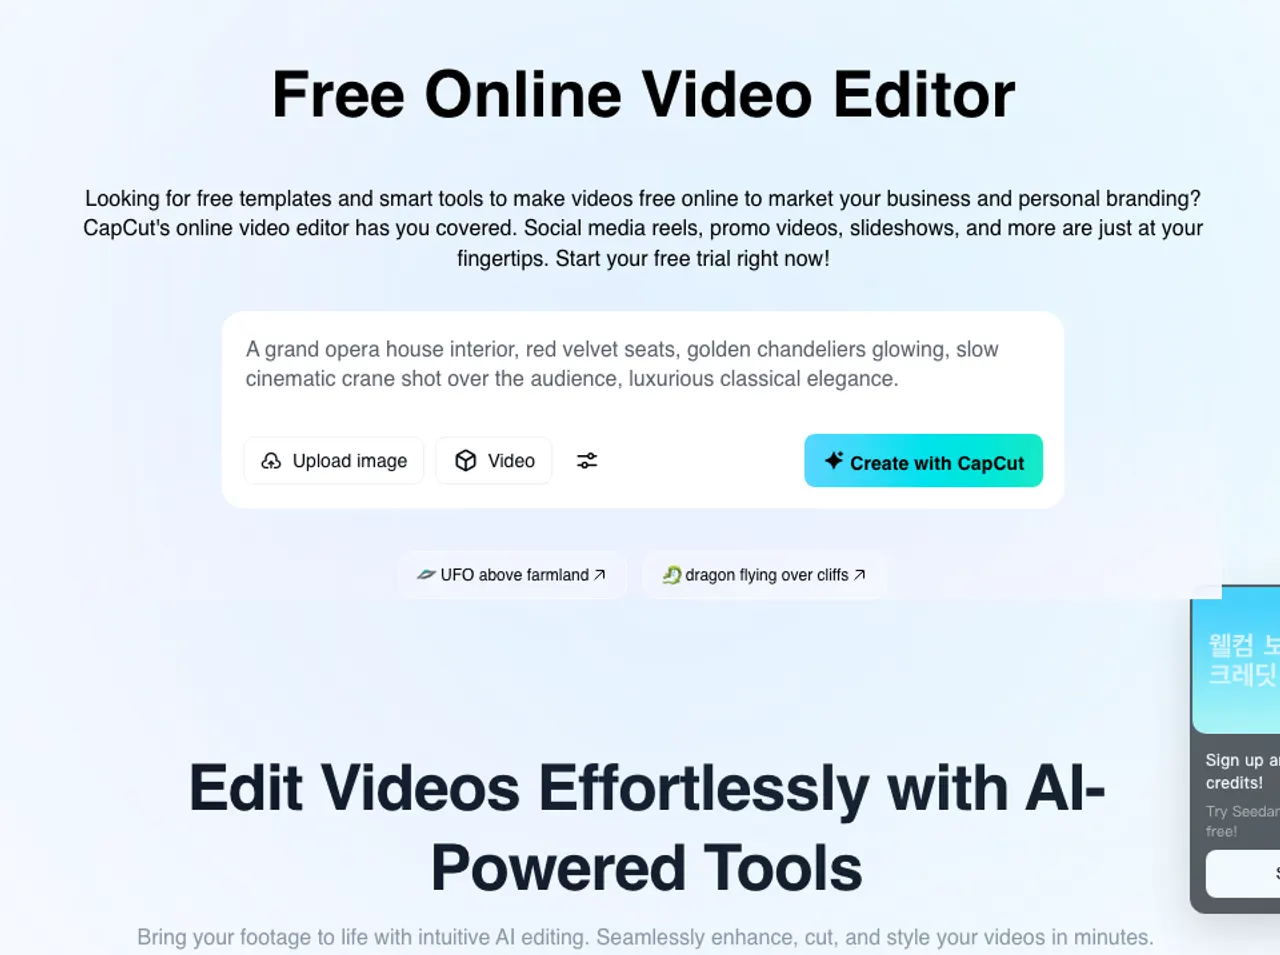
Before comparing features, clarify the starting point. CapCut edits existing footage by cutting, adding subtitles, or removing backgrounds. Runway creates scenes from text or images without source material.
Thus, "which is better" often doesn't apply. If you have footage, use CapCut. If creating scenes from scratch, use Runway. Production typically combines both: generate scenes with Runway then edit in CapCut.
| Evaluation Criteria | CapCut | Runway |
|---|---|---|
| Starting Point | Existing footage or images | No source material |
| Main Task | Editing clips, adding subtitles, background removal, color correction | Generating video from text or images |
| Output Length | Unlimited based on timeline | Shorter segments requiring concatenation |
| Cost Structure | Wide free tier with paid advanced features | Pay-per-generation pricing |
| Suitable Cases | YouTube or TikTok content from footage | Scenes impossible to shoot physically |
| Export specs | Quality, frame rate and format set under advanced export settings (no figures on the official page) | Fixed resolution per service requiring conversion |
| Commercial use | The official page describes watermark-free creation including commercial use | Listed as watermark-free from Standard ($15/month, $12 on annual billing); free-plan terms and output rights are in the terms of service |
CapCut export settings are chosen under advanced settings
CapCut's official page says you set the file name and resolution at export and choose quality, frame rate and format under advanced settings; the selectable values are not listed on the page, so check them on the export screen.
This matters because platforms require specific conditions. For vertical short-form content, first set aspect ratio then choose resolution. If original footage is 30fps, matching that frame rate in export preserves natural motion.
Free features include automatic subtitles and background removal. Cloud storage offers free capacity with paid options for larger files. Team collaboration features let you create workspaces and assign permissions.
- Log into CapCut and open your personal workspace. Upload media files from computer or Google Drive/Dropbox.
- Drag uploaded files into the timeline and split/clips to arrange sequence.
- Enable automatic subtitles if needed and manually correct OCR errors for names.
- Apply background removal to specific sections and verify edge quality visually.
- In export settings, name the file, choose resolution, and adjust quality, frame rate, and format in advanced options.
- Play the exported file to check subtitle timing and volume before uploading.
Generative Tools Require Specific Conditions
Use generative tools when physical shooting is impossible or prohibitively expensive. This includes non-existent locations, scenes needing rare props, or situations where reshooting is impractical.
However, generative services frequently change pricing and generation limits. Always check their official pricing pages before subscribing. This guide references CapCut's official documents; generative tool specifics may vary by time.
Commercial use adds requirements. Each service has different commercial use policies, watermark rules, and training data licenses. For ads or sales content, verify these terms in the service agreement. Scenes with human faces may involve portrait rights issues.
Decide Which Tool to Open First Based on Conditions
If you have footage and need quick completion, start with CapCut. Its free tools handle subtitles and background removal without extra costs.
If creating scenes from nothing, begin with Runway but finish editing in CapCut. Generated content comes in short segments requiring concatenation, subtitles, and music addition.
For company accounts, check policies first. If your organization restricts external cloud uploads, both tools may be blocked. Request approval scope from management.
Tool Selection Checklist: Confirm if footage exists, verify platform's aspect ratio/resolution requirements, check watermark/license policies for commercial use, and confirm external upload policies for company accounts. Follow these four steps in order.
Verify Output Matches Intent
If export completes normally, the file should save with specified resolution/format and playback duration match timeline length. If subtitles are missing, check if the subtitle track was excluded or hidden in the timeline.
If export fails repeatedly, original file format might not be supported. Convert to MP4 first. If browser fails but app works, try different environments. If unresolved, contact the service's support team with file format and failure timestamp.
Revision history · 2026-09-24
This article was revised against the provider’s official documentation. Korean note
Sources
capcut.com — CapCut 온라인 동영상 편집기 (2026-09-24)
runway.com — Runway pricing (2026-09-24)
Open provider document