Building a Website with Wix and Framer: Production Steps
Build and publish a website with Wix AI or Framer, then connect the CMS and verify the live domain.
 Framer
- Category
- Build with AI
- Official sources
- 5
- Read time
- 5 min
- Last checked
- 2026.09.24
Prerequisites and Exclusion Criteria
| Comparison Item | Wix AI Website Builder | Framer Agent | Operational Criteria |
|---|---|---|---|
| Primary Target | Business operators, small business owners | Designers, frontend planners | Selection by service purpose |
| Generation Method | Conversational interface (Chat) based | Prompt and Agent based | Input method difference |
| Backend Features | Reservations, e-commerce, CRM built-in | CMS-based data management | Functional integration scope |
| Design Control | Template and section layout changes | Canvas-based precise property adjustment | Degree of freedom control |
| Infrastructure Provided | Hosting included, domain provided upon paid upgrade | Managed hosting, CDN and SSL included | Default deployment environment |
Before website production, the operational purpose and data control scope must be clearly distinguished. Select Wix for commercial websites requiring reservation systems, payment modules, and customer management features.
Select Framer for portfolios or landing pages centered on advanced interactions, responsive breakpoint control, and custom component design.
A desktop browser environment is required for canvas control. Prepare a high-resolution monitor and mouse or trackpad for precise layout manipulation and component property changes. Mobile devices or low-resolution terminals are excluded from the primary work environment because precise control of the overall layout composition is difficult.
A Generation Prompt That Carries the Brand
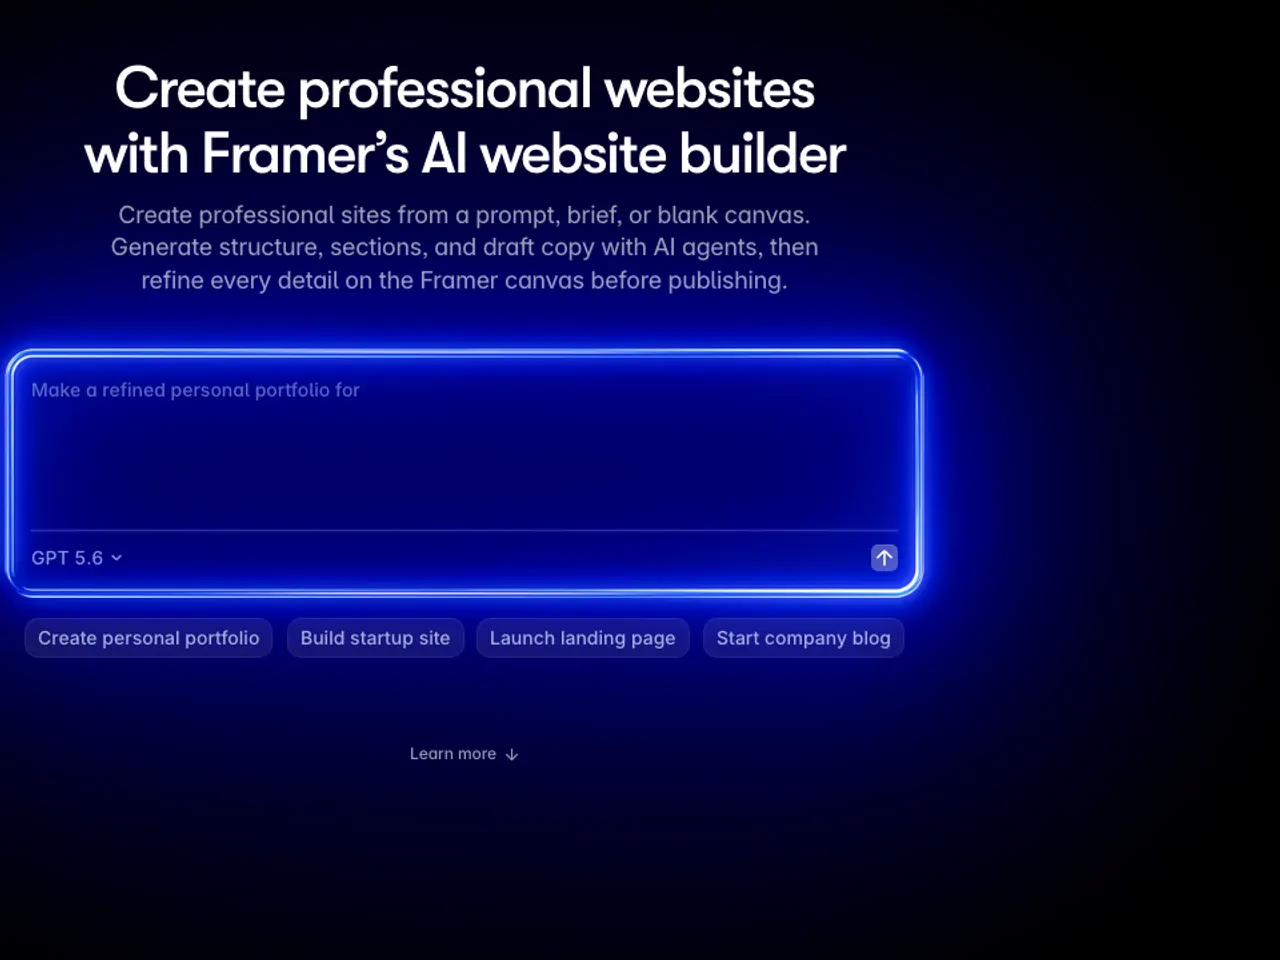
Entering only fragmented words in an AI prompt generates abstract output. Specifying brand identity, target audience, key services, and required section structure improves initial generation accuracy. Copy the prompt structure below and modify it for the brand context before pasting into the input field.
Generate a B2B SaaS product introduction website for [Brand Name].
- Target audience: IT company team leads and PMs needing project management
- Brand style: Modern style, blue and dark gray color theme
- Required section structure:
  1. Hero section (headline, sub text, product capture image, CTA button)
  2.

Core feature comparison section (3 features) (icon, title, detailed description)
  3. Customer testimonials and adoption cases section
  4. Pricing guide section (including monthly/annual toggle)
  5. Contact form and footer
Immediately after generation, verify that data and layout are correctly placed against the checklist items. Inspect all items for placeholder text remnants, CTA button link functionality, element overlap at mobile breakpoints, and meta tag entry status. Correct erroneous elements directly in the properties panel or run the AI section edit function.
From AI Generation to Publishing on a Domain
This procedure generates a website using AI tools and publishes it in a state ready for custom domain connection. It applies to the Wix Editor and Framer Canvas environments.
- Access the AI generation menu and enter the prepared brand overview and required section requirements into the chat window or prompt input field.
- Review the generated initial website outline, then change fonts and color palettes in bulk to match brand guidelines via the Style or Theme Settings menu.
- Click each section in the Canvas or Editor window, open the right-hand Properties panel, and adjust Width, Height, Padding, and Alignment values in detail.
- Navigate to the Pages and CMS menus to create a new collection or add business solution elements (reservations, forms, e-commerce) to designated positions on the page.
- Click the responsive switches (Desktop, Tablet, Phone) in sequence to review the layout, then press the Publish button in the top right to generate the live site URL.
If a specific layout renders differently than intended, re-run the AI section generator on that section only instead of regenerating the entire site. In Framer, specify individual layers in the Agent panel to change only text and image components.
In Wix, use the AI generation function within the Add Section menu to make partial modifications while preserving the existing structure.
Acceptance Criteria for Final Verification
Upon completion, evaluate the final state from three perspectives. Visual verification checks that text and image elements do not overflow their bounds at Framer's default breakpoints: desktop (1200px), tablet (810px) and mobile (390px). Verify that button sizes have not become too small for touch interaction on mobile screens.
Functional verification enters test data into the contact form and presses Submit to confirm data transmission to the admin email or CRM dashboard. For sites with payment modules or reservation systems, use sandbox test mode to verify the full flow from authorization through to the completion page.
SEO and performance verification checks that Page Title, Meta Description, and OG Image are properly registered in each page's Settings menu. Enter the published URL into Google PageSpeed Insights to confirm loading speed metrics, then share the address with stakeholders.
Troubleshooting and Alternatives
Generation errors or functional interruptions after AI prompt entry are caused by insufficient permissions or blocked network connections. When using an enterprise workspace account, generation commands will not work if the organization administrator has disabled AI features.
For corporate accounts, confirm the AI permission status in Workspace Settings with the administrator.
Attempting to connect a custom domain on a free plan triggers an upgrade prompt. In Wix, accessing the domain connection menu redirects to the premium plan upgrade page; Framer likewise requires a per-project plan subscription before custom domain application.
When features are limited due to payment errors or unapplied plans, review the payment method and authorization status in each service's Billing menu.
If AI-based generation persistently fails or advanced interactions cannot be implemented, adopt alternative tools. When design system standardization and code extraction are critical, import Figma designs directly. When complex logic integration with backend databases is required, switch to Webflow or a separate frontend development environment.
Revision history · 2026-09-24
This article was revised against the provider’s official documentation. Korean note
Sources
framer.com — Framer Agents help (2026-08-20)
framer.com — Framer AI website builder (2026-08-20)
wix.com — Wix AI website builder (2026-08-20)
framer.com — Breakpoints (2026-09-24)
framer.com — How to connect a custom domain (2026-09-24)
Open provider document